
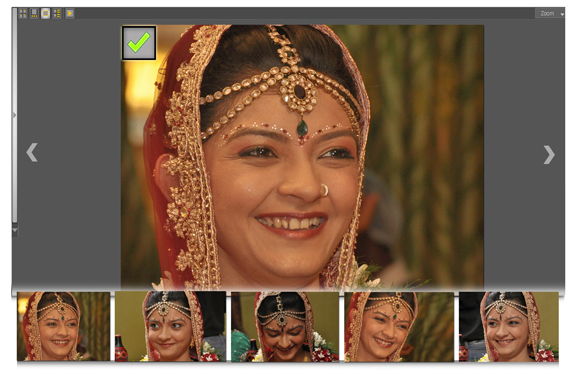
Unique feature of full screen photo selection is provided only by DgFlick. Larger view leads to better selection.
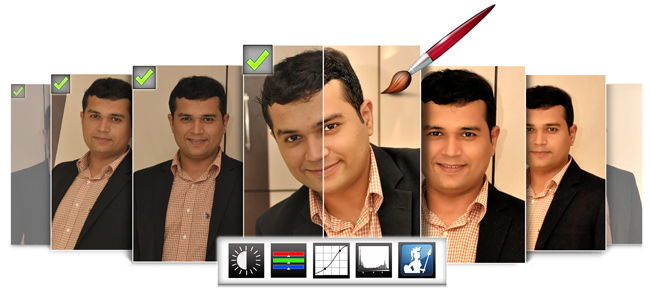
Xpress Edit a single click allow you to edit multiple photo at a time, Cropping, Tilt & correction in single click. Click next and photo is ready with effect. Color correct the photos with the color correction tools like BCG, RGB, Level and Curve and Perfectly Clear. Save time and earn more.
The newest feature of Perfectly Clear is an advance feature in which software automatically beautifies the photos and converts them into vibrant and color corrected one. The features in the photos which were invisible till now, gets visible and shine out. You also get up to 10 ready presets of color correction which includes skin smoothening, eye enhancement and enlargement, teeth whitening, etc.
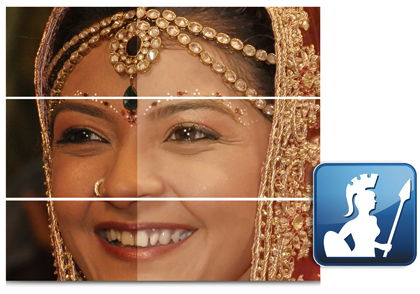
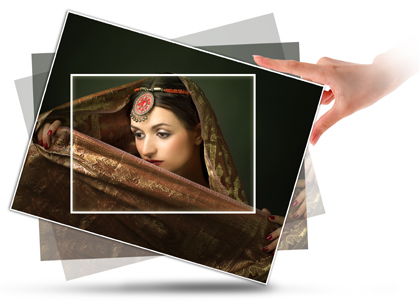
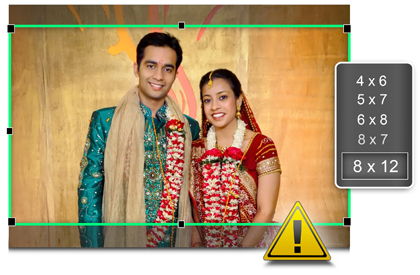
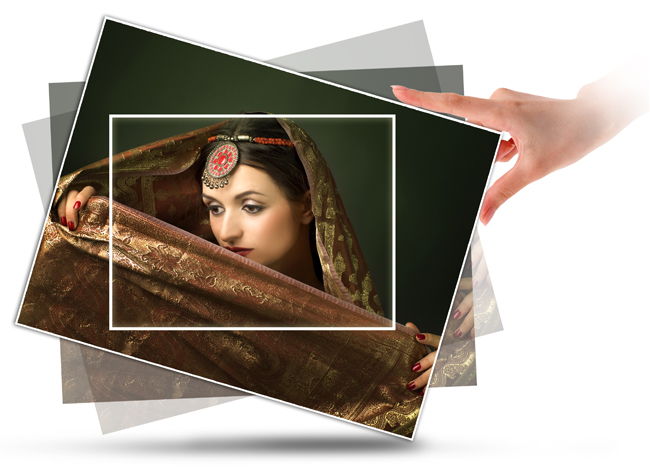
The photos which are loose composed at the time of event can be easily cropped and tilted at the same time. Grid on the photos will assist you to adjust the tilt angle perfectly. It helps to save your time you generally use for first cropping and then adjust the tilt of the photos.
Ready presets, instant preview, color correction of multiple photos in single click and easy controls helps the user to select, sort and color correct multiple photos smoothly and let you take best quality output in less time. Ready presets have sets of ready parameters like exposure, depth, skin and depth bias, tint correction, vibrance, fidelity. Make the photo smooth and also perfectly smooth. Adjust the skin tone, enlarge or enhance eyes. You can also give whitening effect to the teeth. All the parameters are adjustable if required with the sliders.


You can give chroma, lasso, touchup, and highlighter effect to the photo. Apart from basic editing; you can do different types of advanced color corrections on the photos. You can also erase unwanted parts of the photo. Rename and resize multiple photos to make the sorting process easy and quick.
While cropping the photos, you may feel a need to think about the quality of output. But now, don’t think about the output quality as it has an inbuilt indicator and that to for different print sizes like 4 x6, 5 x 7, 6 x 8 and 8 x 12. With the help of it, you can manage the zoom of the photos and get good quality output every time.
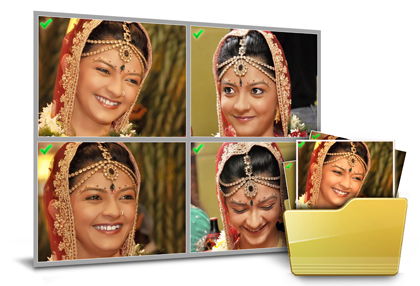
Get full control over editing the photos and also for saving them after correction. Save the output either in the location folder or you can also define another location path to save the photos.
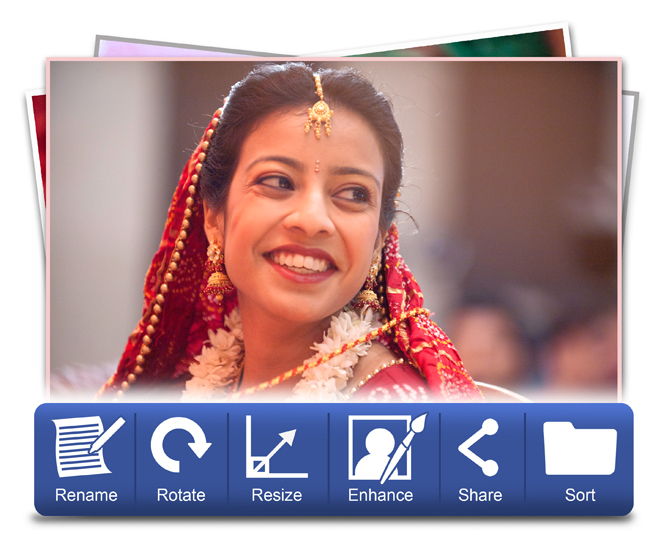
While choosing photos for color correction, arranging or sorting them in a proper order may be a hectic task. The advanced Photo manager simplifies your task. Select the photo in thumbnails, list, Filmstrip, or in Full view mode; none of the other software provides selection in full view. The Batch Edit option in Photo Manager allows you to edit, rename, resize and rotate multiple photos at a time. The Edit option is available for a single photo also. Sort photos with various parameters provided. You can even sort photos manually.
You can color correct 1000s of the photos in a single click. The online photo correction and crop feature allows you to color correct the photo and trim out any part of the source photo that you don’t need. You can crop your photo to give it the desired height and width before taking output.
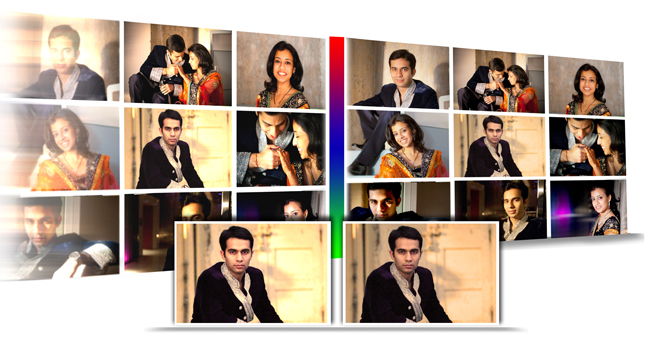
Color Balance tool is given to adjust the Colors of the photos in a Batch Mode. You can set the colors and Brightness and Contrast of Multiple photos at a time. There are Automate Options that can be used in batch mode. By clicking on the Buttons like Auto Color, Auto contrast, etc. all the selected photos will be done with the same settings you made in a single click in batch mode.
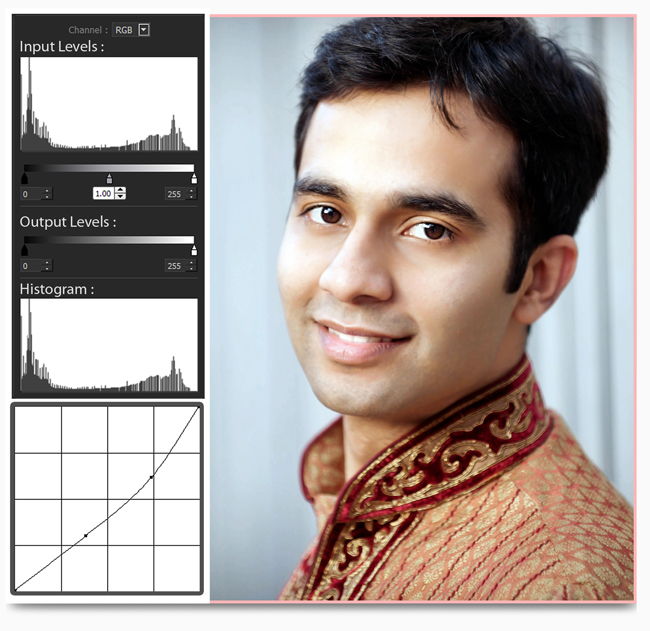
To apply the appropriate curves to an image take an underexposed RGB image and make it look great using Levels and Curves. At this juncture shown above, the photo starts to become richer and more saturated with color. After finally adjusting the blue channel below, we can see the photo is at a very rich stage. Details that weren’t previously visible shine out now.
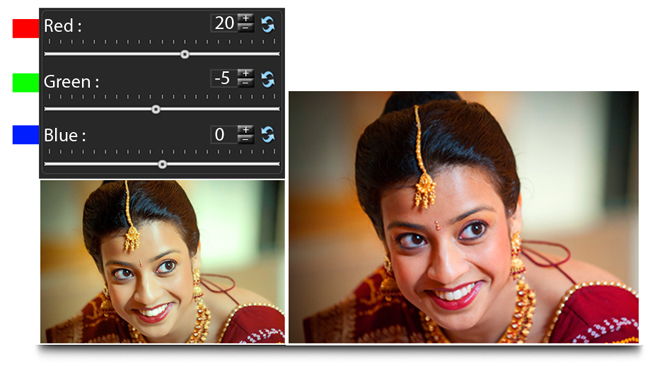
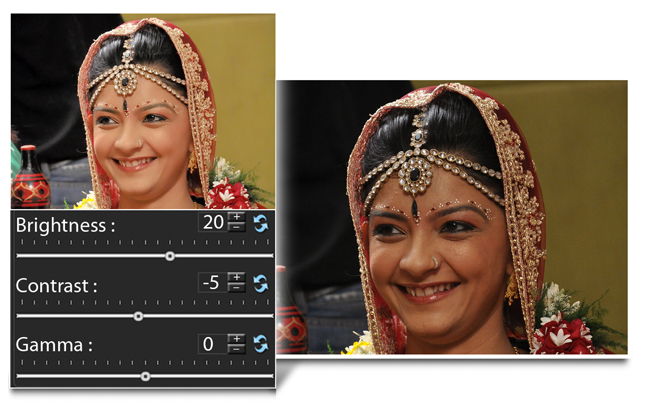
To apply the appropriate curves to an image take an underexposed RGB image and make it look great using Levels and Curves. At this juncture shown above, the photo starts to become richer and more saturated with color. After finally adjusting the blue channel below, we can see the photo is at a very rich stage. Details that weren’t previously visible shine out now.
The curve tool is a flexible control that can brighten or darken parts of a layer based on the layer’s luminosity. It can be used to edit photos, masks, graphics & hues. The level tool is used to adjust brightness, contrast, and tonal range by specifying the location of complete black, complete white, and mid-tones in the histogram.
Simple steps for software installation
Online as well as offline registration process to activate all the features of the software
Set your software as per your working comfort.
Simple steps for software installation
Online as well as offline registration process to activate all the features of the software
Set your software as per your working comfort.
| Windows |
|---|
| Pentium 4, 2.8 GHz Processor and above |
| 1 GB RAM (2GB Recommended) |
| 1 GB free disk space |
| CD-Rom drive |
| Microsoft Windows XP (service pack 2) and above |
| USB Port* |